Claire Crompton

Naughty but Nice Cross Stitch

Notify me when the book’s added
To read this book, upload an EPUB or FB2 file to Bookmate. How do I upload a book?
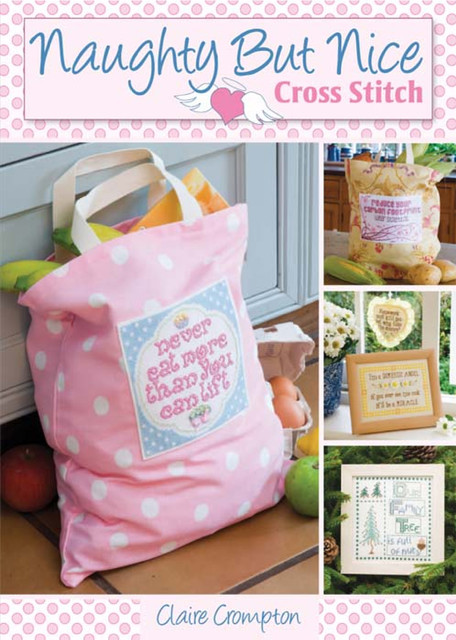
Say no to sweet sayings! From aging disgracefully to Christmas chaos, these projects put the “cross” in cross stitch.
Naughty but Nice Cross Stitch features a collection of fifty fun and sassy cross stitch sayings to remind you not to take life so seriously. Each themed chapter presents the ideal answer to the endless demands on a woman’s time—husbands, chores, children and work. Whatever the crisis, these witticisms are sure to put a smile on your face! A great selection of project ideas accompany the sayings—from hanging signs to framed pictures and cell phone covers—so that you can share the fun with family and friends.
“Perfect for the sassy crafter, simple images with comical phrases which make perfect cards and presents for that person in your life who enjoys a laugh.” —Baking and Making in Bristol
“Chock a block full of fun patterns this book will give you a chuckle.” —Trish Alan Designs
This book is currently unavailable
193 printed pages
Original publication
2009
Publication year
2009
Have you already read it? How did you like it?
👍👎

Impressions

  • Jen602shared an impression2 months ago
    👍Worth reading

Quotes

  • Jen602has quoted2 months ago
    depth of 5cm (2in) and peel off the backing. Fold the excess fabric back, pressing down firmly to stick the fabric to the board, adding more tape to neaten the corners. Remove the pins and reassemble the frame with the embroidery in it
  • Jen602has quoted2 months ago
    1 Cut a piece of mount board to fit the frame aperture (draw around the backing board from the frame). Using double-sided tape, stick a piece of wadding (batting) to the mount board and trim the wadding to the same size using a sharp craft knife.
    2 Lay the embroidery right side up on to the wadding, making sure the design is central and straight, matching a fabric thread along the edges. Push pins through at the four corners and along the edges to mark the position. Trim the fabric to leave 7.5cm (3in) all around.
    3 Turn the embroidery and mount board over together. Stick double-sided tape around the edges of the board to a
  • Jen602has quoted2 months ago
    2 On the wrong side of the card, stick double-sided tape around the aperture and peel off the backing strip. With the stitching right side up, place the card over the design using the pins to guide it into position. Press down firmly around the aperture so the fabric is stuck securely to the card.
    3 Place the card face down with the top of the design at the top. On the wrong side of the card, stick more double-sided tape around the edge of the middle section and peel off the backing tape. Fold in the left section to cover the back of the stitching and press down firmly. Fold in the right section to finish

On the bookshelves

fb2epub
Drag & drop your files (not more than 5 at once)